Making a flavorful meal isn’t just about cooking itself. It also includes the preparation stage where you peel, slice, and cut all of your ingredients.
Whether you are a professional chef or an experienced home cook, learning basic knife skills is vital not only to make cooking easy and fast but also to prevent accidents.
THINGS TO CONSIDER
Before starting off with the skills, there are three (3) important things to consider:
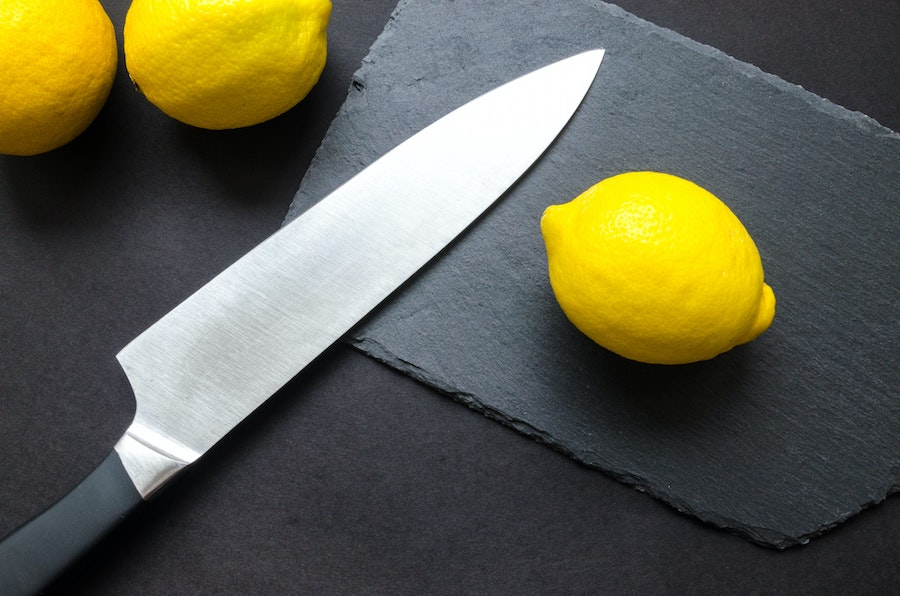
First, you must start investing in a good knife set. Each knife has its own job to help you in the kitchen. Don’t worry, this doesn’t necessarily include loads of knives or breaking the bank.
All you need is a 4-inch paring knife, an 8-inch chef’s knife, and an 8-inch serrated bread (or tomato) knife. You can do most prepping work with this set of knives.
Next, it’s imperative to always clean your knives to avoid bacterial build-up that can contaminate food. Also, you must not leave your knives soaking in the sink for a long time. Water can damage the handle of your knives and lead to the formation of rust.
Carefully clean your knives by keeping the pointed part away from your body. It’s better to use hot water and dish soap, and wipe them dry right away with a paper towel or cloth.
Lastly, you always have to keep your knives sharp. Dull knives are more of a safety hazard since you have to exert more effort and pressure when cutting, which can lead to slipping or cutting your fingers instead. Thus, seek help from a professional knife sharpener once or twice a year, or learn it how to do it yourself properly.
THE RIGHT WAY TO HOLD YOUR KNIFE
Your cutting hand is the one you use to grip the knife. Your other hand has an important role as a helper to maximize efficiency and safety as it holds and stabilizes the ingredients while cutting.
Gripping
Hold the knife in a way that makes you the most comfortable and safe. However, you can practice this grip that is mostly preferred by cooking professionals:
-
Place your palm on the handle.
-
Grip the top of the blade with your index finger and thumb.
This grip is the best to balance the weight of the knife, the sharpness of its blade, and the strength of your arms, making cutting much easier.
It’s a safe gesture to move your knife from front to back, with a rocking motion for softer ingredients, and up and down for much firmer ingredients.
While cutting, the whole upper body, not just the hands, should put downward pressure on the knife. To do this, keep the knife just below your elbows or at elbow-height.
The “Bear Claw”
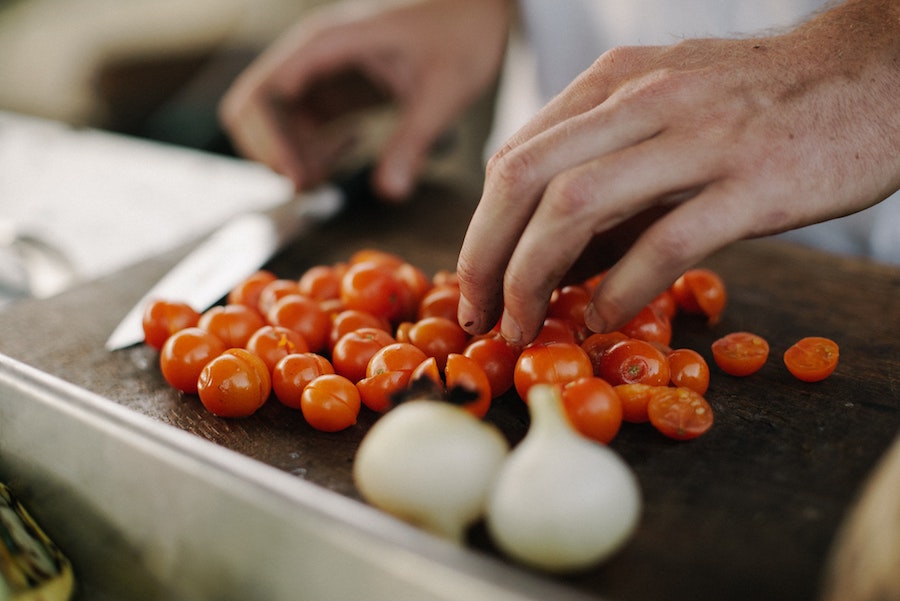
This is the most ideal and and safest position for your other hand. Do this by keeping your fingertips curled and holding the ingredient down.
Aside from protecting your fingertips from accidental cuts, you are also allowing your knuckles to be used as a guide in aligning your knife as you slice.
BASIC KNIFE TECHNIQUES
CHOP
Chopping refers to cutting into irregularly small pieces. Among the different knife techniques, chopping is perhaps the most commonly used and easiest to perform.
Some recipes are specific with the thickness of the chop needed. “Coarse” is 3/4 inches thick, and “fine” is a 1/4 ” chop. If not specified, you can always stick with a 1/2 inch chop.
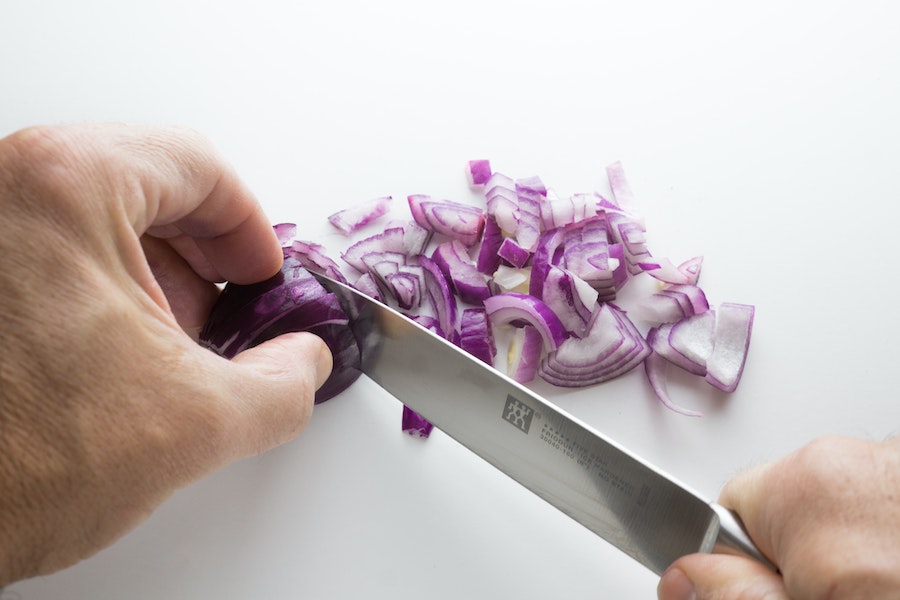
DICE
While chopping refers to cutting to irregularly shaped pieces, dicing is its opposite. Diced ingredients are more precise, like small blocks of vegetables, meat, or fruit.
Dicing can be done in any uniformed size. However, there are three main types of dices: “Large” (¾ inch), “Medium” (½ inch), and “small” or “Macedoine” (¼ inch). There’s also a super small dice which is called “Brunoise.” (⅛ inch).
Begin dicing your food by slicing lengthwise or into long strips. Then, gather the strips and cut across them to create small square pieces.
MINCE
Mincing is a technique very similar to chopping. Yet, in mincing, you have to chop your ingredient as finely or as small as possible as if it will dissolve while cooking.
Mincing is done to make the ingredients as soft, and almost paste-like as possible in order to release its flavor on oils or liquids and be distributed evenly throughout a dish.
Garlic and onions are the most commonly minced ingredients.
Mince your garlic by crushing a clove. Then, chop it roughly. Lastly, hold your knife and lay the other hand flat across the tip, then with a rocking motion, finely mince your garlic. The same thing goes with your onions.
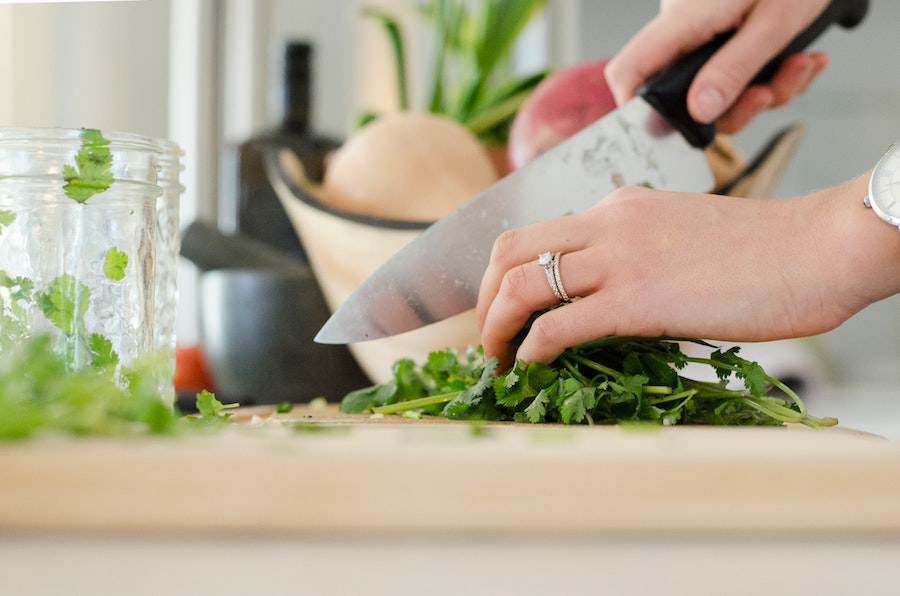
CHIFFONADE
When a recipe calls for cutting leafy vegetables and herbs into thin strips or ribbons, chiffonade is the best technique to use.
All you need to do is to remove the stems of your greens, stack them up according to sizes (small to big), roll up into a cigar shape, and thinly cut them using a sharp knife, moving in a rocking motion.
Don’t chop your greens in an up and down motion to avoid bruises, discoloration, or loss of flavor.
This technique is suitable for broad-leaved plants that can roll well. Using this technique on irregularly leafed vegetables or herbs such as parsley is also possible but can be difficult.
JULIENNE
Julienning is also known as the “matchstick” cut or “allumette”. It means cutting an ingredient into long ultra-thin strips that resemble matchsticks.
It is similar to a step used in dicing but with thinner and smaller cuts.
To do julienne, slice your ingredient into 1/4-inch-thick strips.
Then, stack and cut them into 1/8-inch-thick strips.
To julienne rounded ingredients such as cucumber, first you must flatten them so they won’t move or roll-over. To do this, take a slice off the bottom, then proceed with the steps mentioned above.
BATONNET
Batonnet is a French word meaning small sticks. This technique is considered the basis for dice and julienne cuts.
It is a long and straight cut that measures ¼-inch by ¼-inch by 2-2 ½ inches or larger like ½ inch by ½ inch by 2 ½-3 inches.
This technique begins in a process known as the topping and tailing, or simply chopping off both ends. Then, making a rectangle with the knife by squaring off all four sides and further slicing the rectangle into the sizes mentioned above.
PEELING
Peeling is now made easier with the use of peelers. However, it’s still beneficial to learn how to peel using a knife or a paring knife with blades of 3 to 3 1/2 inches, to be specific.
Paring knives are ideal for peeling since they’re much smaller, more maneuverable, and have a slightly curved blade, making tasks faster and easier.
To keep your hands safe, keep the blade away from them. Use your thumb to give the knife some leverage as you turn the food in your hand.
TOURNÉE
Tournée is an oblong-shaped cutting technique. It is used to provide a distinctive appearance to food and is commonly used for vegetables like potatoes, carrots, and squash.
You can tournée vegetables by removing the edges and trimming to approximately 2 inches. Though you can use any knife that’s comfortable to handle such as a paring knife, most cooks prefer to use a tournée knife or bird’s beak knife, their curved blade allows carving and shaping food quickly and efficiently.
Now that you know the basic knife techniques, try practicing them often so you can master them and make your meal preparation fast and easy.
You can also check out these recipes to try them.