How to give your favorite dish an extra crunch
Our fascination with crispy food started way back in time -- We have two main sources of crispy in our natural environment: insects and certain parts of plants such as roots, leaves, and stalks.
In modern times, now that we know how to cook, our love for crispy food has evolved into a whole array of methods and ingredients.
To help you make your crispy dreams come true, listed below are some of the methods used to make crispy dishes, and some tips on how to do them correctly:
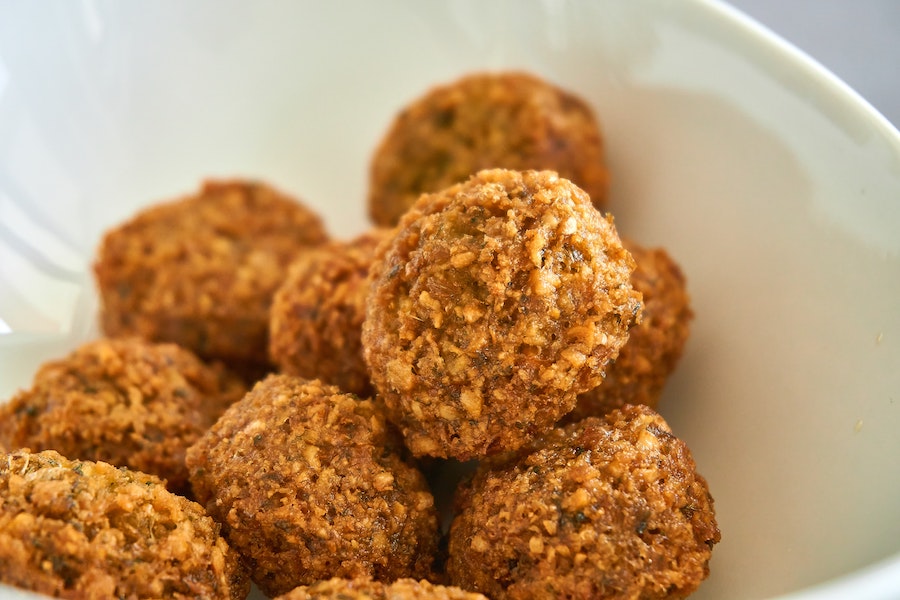
Deep-Frying
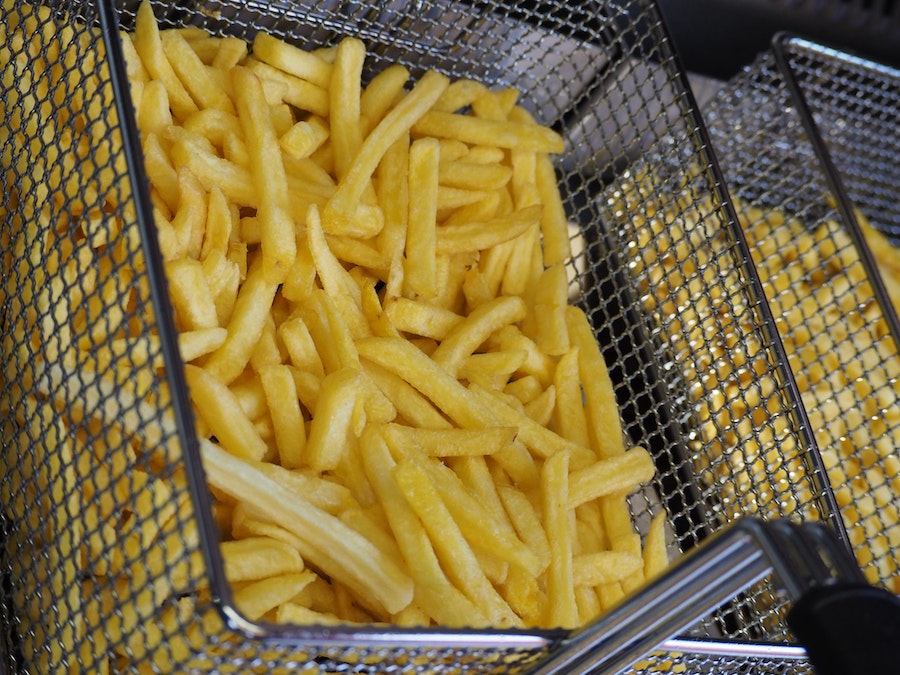
Deep-frying is a cooking method that uses fat or oil to cook and bring out the crispiness of a piece of food. However, it has recently created fear in some of the home cooks -- not only because of the fear of getting burned by hot oil, but also because fried foods are known to be greasy and unhealthy.
Despite these consequences, many people are still fond of eating deep-fried food, for they are crispy and satisfyingly awesome. We're also behind the idea of balance. Even deep-fried foods, once in a while and with moderation, will not create any significant issues in our health.
Deep-frying works by wholly submerging food in hot oil (up to 400°F (204°C). The bubbles around the food are the moisture on its surface that turned into steam. This process allows the formation of crust.
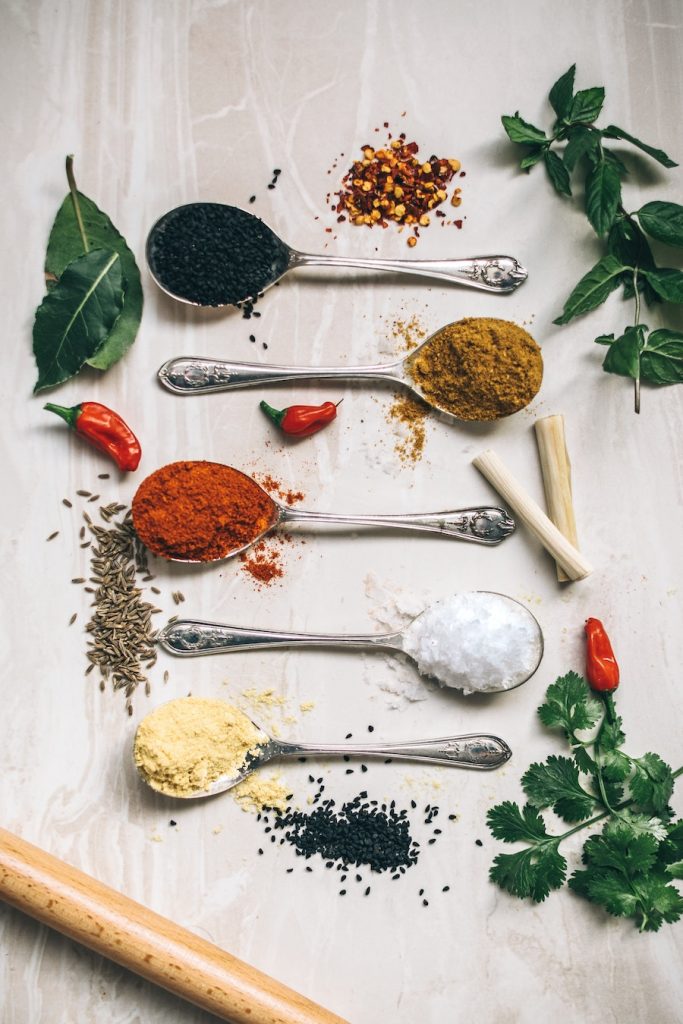
The more starchy the surface is, the crispier it gets. That’s why we often use cornstarch or flour.
To prevent your fried food from getting soggy, keep them as dry as possible before cooking, because the oil migrates inwards when moisture moves out. Generally, the amount of oil absorbed is equal to the amount of water removed while frying.
Here are some tips to consider when deep-frying:
-
Using the right equipment.
Cast irons with wide bases are best to use. They're sturdy and heavy which can prevent accidents. Cast irons are also good at holding heat.
A drop in temperature while deep-frying may lead to a disappointing result. This is why we advice you to use a food thermometer with a probe that you can keep in the pan to easily and consistently monitor the temperature.
-
Be safe.
To prevent oil from overflowing, fill your pot with only two-thirds of oil. Make sure to always keep the pot’s lid within your reach for easy access whenever you need it.
Also, keep your food dry before dropping it in hot oil, not only to prevent oil absorption but to avoid oil from splattering due to the presence of water.
-
Choosing the right oil.
The oil you use affects the overall taste of your dish. Choosing a type of oil depends on your preference, whether you like a nutty, floral, or neutral flavor.
Aside from the taste, always consider the smoking point of the oil. Once the oil reaches its smoking point, it can give your food a burnt taste.
When deep-frying, choose oils like peanut oil, refined coconut oil, virgin or extra light olive oil and vegetable oil since their smoking point reaches higher than 375 °F, allowing you to fry better.
-
Cook in batches.
Cooking everything at once will cause a drop in oil temperature, which will make your food soggy. To prevent this, always cook in smaller quantities that you can control.
-
Avoid using salt before cooking.
Unlike other frying methods or grilling, where you can sprinkle your food with some salt before cooking, when it comes to deep-frying it better to avoid this. Salt may cause the hot oil to splatter even before the oil reaches its smoking point.
However, you can sprinkle some salt right after cooking so it will stick onto your food well.
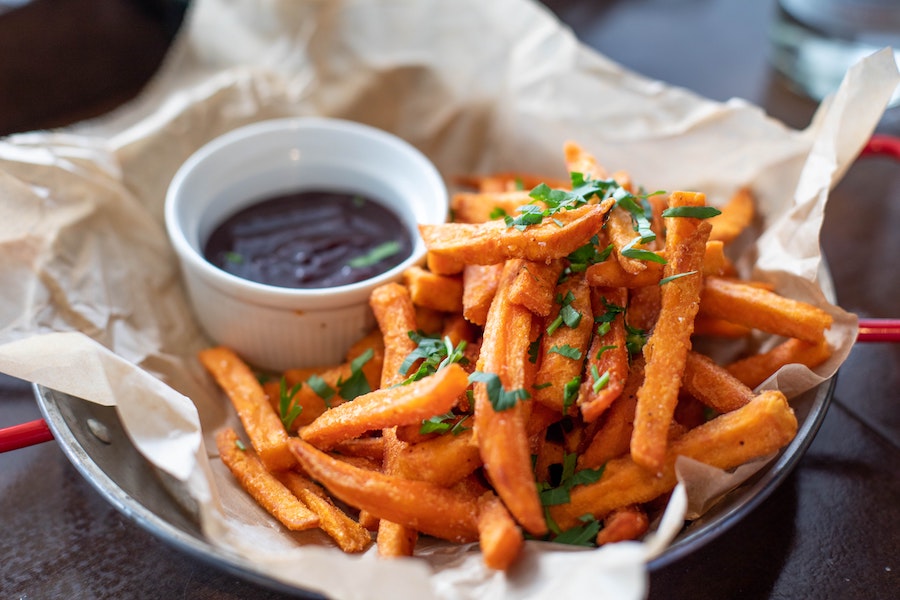
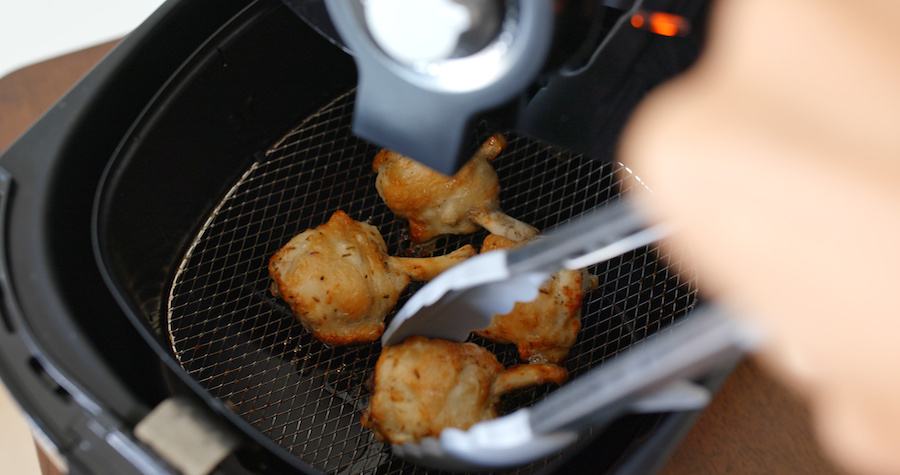
Air Frying
Due to technological advancements, we're able to get a similar feel to deep frying without the use of heavy oils and potentially dangerous techniques. One of these advancements is the air fryer. We run this website almost entirely on our love for Air Frying, isn't this great?
An air fryer is a piece of kitchen equipment similar to an oven, but they differ in heating elements. Unlike ovens, an air fryer’s heating component is placed on the top, and is accompanied by a large and powerful fan for heat circulation.
As a result, the food easily becomes super crispy without using much oil. Some recipes don’t need any oil, some call for 1-2 teaspoons, and breaded items need 1-2 tablespoons – which is somehow healthier, as some would say. Either way, we absolutely love air frying.
An advantage of Air Fryers is that there are many accessories in the market that allow us to further decrease the use of oils, butter and other breading or non-stick elements. A great example of these accessories are the ones found in our online store.
If you’re new to air frying, or you'd like to know how to make your food even crispier, here are some air frying tips to help you:
-
Preheat your air fryer.
Before air frying, make sure to set the temperature of your air fryer to what your recipe calls. Preheating heats up the cooking surface and the basket to allow airflow at the right temperature, resulting in an evenly crispy air fried dish.
-
Do not overcrowd your basket.
An overcrowded basket may result in unevenly cooked food. You must give your food enough space for proper hot air circulation.
A great tip for cooking more food without overcrowding your basket is to use an air fryer rack like these ones. And if your air fryer basket has enough space, some racks can be stacked up to create an even bigger cooking surface, which allows you to place more food inside your basket without overcrowding.
-
Shake your basket.
One trick to give you an evenly crispy dish is to pause every few minutes to give your basket a gentle shake to re-distribute your food.
-
Spray with oil.
If you want to make the food brown and crispier, a spritz of oil halfway through the cooking time would help.
Extra tips for a crispy dish:
-
Befriend cornstarch
Since cornstarch is starchier than flour, using it to coat your fried food will give it great crunchiness and golden color.
You can use a 50-50 portion of flour and cornstarch to level up the crunch of your favorite fried chicken recipe or stick to cornstarch alone for an ultimate level of crispiness.
You could also use Panko crumbs when applicable to give your food a nice crisp.
-
Fry and fry again
While other people are not into deep-frying, some tend to double fry their food to make it much crispier.
Frying is a method of dehydration, which happens by letting the water on the surface and even inside the food evaporate. With this, the drier the food is before frying, the crispier its crust gets as less water has to be evaporated.
Meaning, when you fry your food again, it will become crunchier. You can also try to pat off or strain the excess oil after your first fry to prevent it from getting soggy. However, if you're going to double fry, make sure the inside of your food is not going to be overcooked, dry or burnt.
-
You can always use your oven.
If you don’t want too much oil or you don’t want to buy an air fryer (but why wouldn't you?) you can always use your oven.
The trick is to use an oven-safe rack to elevate your food. Through this method, the moisture can drip off while cooking, and air will be circulating, which may result in an evenly cooked and crispy dish.
How to fix an over-seasoned dish
It’s a fact that we all have different palates. Very frequently, we find that the recipes we’re trying to cook might be too flavorful or too bland for our taste.
However, cooking delicious dishes doesn’t require any magical powers – a few tricks will do.
As an experienced home cook, I must admit, I still make mistakes when I cook. But as time has gone by, I’ve figured out that tasting the food throughout the cooking time and making adjustments accordingly can help save any dish before serving it to my family.
If you’re not a seasoned cook or, like me, you’re a home cook who often commits mistakes, all you need to do is to practice and of course, have extra patience.
Before getting started, you need a better understanding of different flavors and how they work on every dish to be able to adjust depending on your preference.
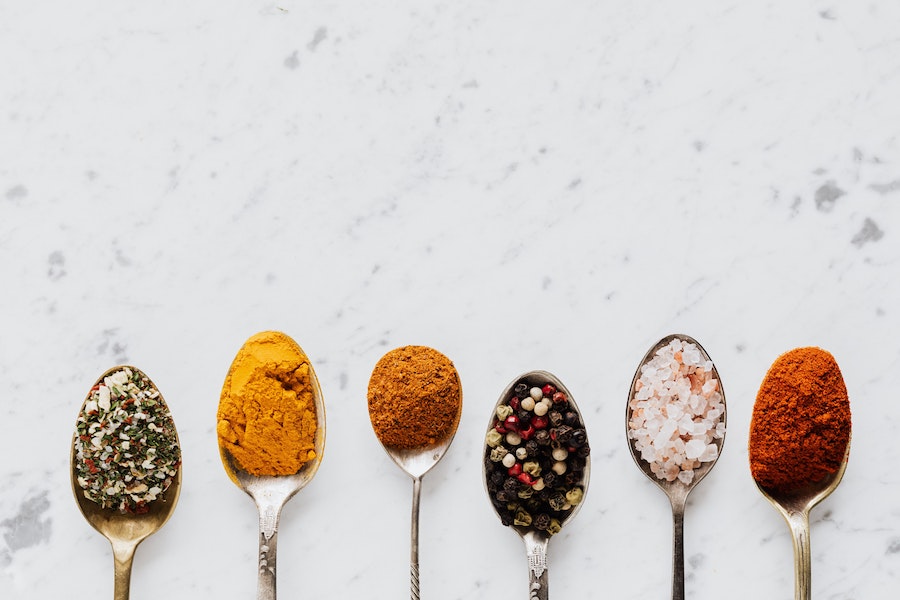
KINDS OF TASTES

Universally, there are five (5) accepted basic tastes that are perceived by our taste buds: sweet, salty, sour, bitter, and umami. Let us dig in through these tastes to know how they can make your favorite recipes extra special.
SWEET: Sweetness is often described as the pleasure taste that is desirable to the human body. This taste is caused by a form of sugar or alcohol. Sweet foods are often high in carbohydrates, like glucose, which is our core source of energy and provide our bodies with fuel.
Examples of sweet foods: honey, candy, sugar, maple syrup, bananas, figs.
SALTY: Salt is a component that helps our body in digestion and in cleansing our tissues. Saltiness helps in enhancing flavors. A pinch of salt to sweet dishes amplifies the sweet notes, often making it necessary to add some.
Salt also reacts to the sodium chloride receptor in our mouths, which is the simplest taste receptor.
Examples of salty foods: soy sauce, Kosher salt, sea salt, Maldon salt.
BITTER: Among the five tastes, bitter is the one we’re most sensitive to. Some bitter compounds, mostly in plants, are known to be toxic. However, bitterness can also be considered healthy, like the bitter tastes of coffee and dark chocolates, which are brought in by antioxidants that help our metabolism.
Examples of bitter foods: coffee, wine, chocolate, citrus zest, arugula, kale.
SOUR: Hydrogen ions that are detected by our taste buds are responsible for the sourness or the tartness we experience when eating foods that have acidity.
However, sourness is not only found on mouth-puckering foods like citrus fruits.
It’s also present on spoiled or rotten food.
Examples of sour foods: yogurt, buttermilk, cranberries, pickles, apple cider vinegar.
UMAMI: Umami is often characterized with a savory or meaty taste, which often increases our appetite. It’s the most recent taste added to the “basic taste” list, after Kikunae Ikeda, a Japanese chemist, uncovered its chemical basis in the early 20th century.
The presence of glutamic acid, which he later renamed “umami” in Japanese, or “good flavor”, is responsible for this taste.
Examples of umami foods: cheese, anchovies, mushrooms, truffles, animal and vegetable stock, oysters, nori (dried seaweed).
WHAT IS SEASONING?
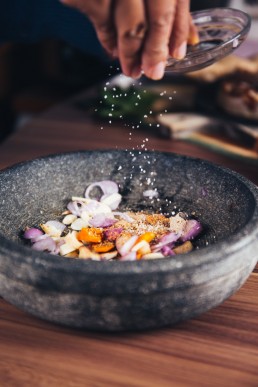
Seasoning is the act of adding salt, pepper, sugar, vinegar, and other herbs and spices into your dish. Seasoning is necessary, for it creates deep flavors and binds your ingredients together for a more balanced and flavorful dish.
WHEN IS IT BEST TO SEASON?
Seasoning can be done twice: Before cooking, to allow the flavors to develop throughout your cooking time, and at the end, to slightly adjust the taste.
HOW TO I FIX MY OVER-SEASONED DISH?
Don’t worry if you forget to season your food throughout your cooking. Below are simple ways to fix your food before it reaches the table:
TOO SWEET?
Adding sour, spicy, or bitter ingredients can downplay an overly-sweet dish. You can try adding herbs such as mint, sour fruits like blackberries, dairy, or chopped nuts to it.
Stay away from salty ingredients, since they could bring out the sweetness even more.
TOO SALTY?
Prevent making your food too salty by making sure you add salt little by little.
However, if you end up with an over-salted dish or sauce, you can fix it by adding something sweet like a pinch of sugar or something sour, like a splash of vinegar or lemon to lessen the saltiness.
For soups, you can try adding some water or unflavored broth. However, this can affect the consistency of your dish.
TOO SOUR?
Keeping a box of baking soda is good not just for cleaning, but also for rescuing your overly sour dish. Make your dish more alkaline by adding a pinch of baking soda to it (make sure not to put too much!).
However, if you don’t like this option, keep in mind that you can soften the effect of your overly sour dish by combining bitter, salty, or sweet ingredients like sugar, which is the perfect balancer when dealing with too much acid.
TOO SPICY?
Some people are brave enough to enter a chilli eating contest, and others, like me, can’t even handle a little bit of spice.
To rescue your taste buds from too much heat, try adjusting your dish by adding dairy. The casein protein found in milk bonds to spicy capsaicin molecules
and washes them away.
You can also add sugar, acid, or nut butter like tahini, peanut, or almond butter. The fat content on nut butter can help quench the flame.
TOO BITTER?
You may add something sweet, salty, or sour ingredients to balance out the bitterness of your dish.
To neutralize naturally bitter foods, like bitter gourd, you can slice, scrub with salt, squeeze the salt, and rinse before cooking in order to minimize the bitterness.
PRO TIP: Keep this flavor guide handy while you cook and remember to taste your food at every stage to keep your dish as delicious as possible.
MORE TIPS TO A FLAVORFUL DISH
Aside from a well-seasoned dish, here are some more tips to make your dish more flavorful overall:
-
-
Use fat: Take note that FAT = FLAVOR. Most of the flavors in meat comes from its fat, which is also described as an entire rainbow of flavors.
-
Consider the saltiness of your ingredients: one good way to prevent an overly-salted dish is to anticipate how much saltiness each ingredient can contribute to the whole dish. If your dish has loads of cheese and bacon, for example, it may already be at its ideal saltiness level by itself, so you may not need more than a pinch of salt.
-
Browning means flavorful: Saying that browned food is more flavorful is not just an opinion, but science. Amino acids and reducing sugars undergo a chemical reaction that gives browned food a more complex and distinctive flavor. This is called the Maillard reaction.
Another reaction that happens in this case is called “Caramelization” or “browning of sugars” resulting in a brown color and a sweet and nutty flavor.
-
Add some booze: Adding some alcohol into your dishes like sauces, soups, desserts, jams, and marinades will surely bring them to the next level.
Alcohol improves flavor as it bonds with both fat and water molecules which allows it to carry aromas and flavor.
However, contrary to popular belief, alcohol does not entirely “burn off” while cooking. The amount of alcohol, amount of heat applied, cooking and standing time, and the physical dimensions of the cookware will determine how much alcohol will remain in your dish.
-
Use the “fond”: Fond is a French term for "base" that refers to the browned bits and caramelized stuff that usually sticks at the bottom of a pan or skillet after sautéing or roasting when you pour off the oil.
They may look nasty, but they have a huge impact on flavor. Don’t throw them away and use them to make a flavorful pan sauce or gravy.
-
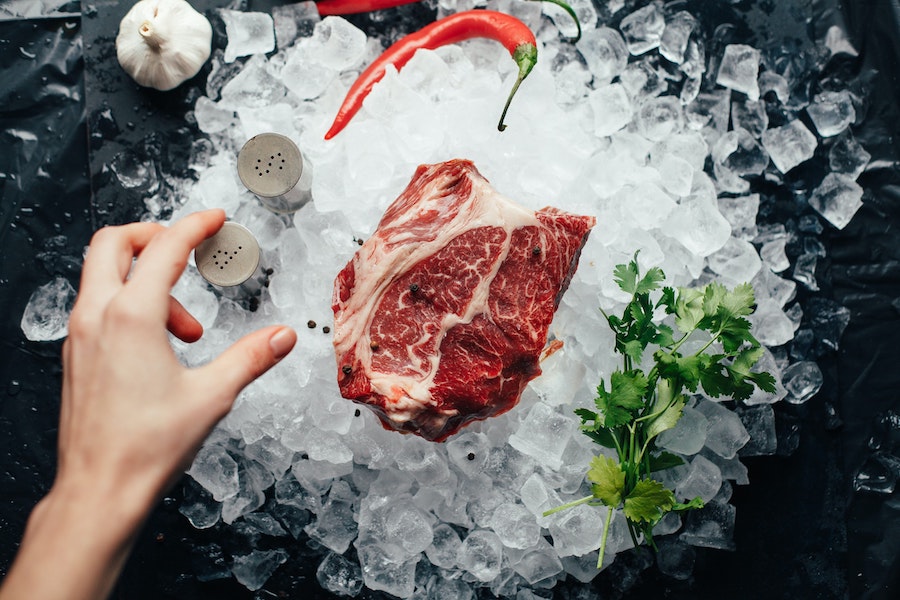
How to cook perfect steak every time
Whether you prefer medium-rare or well-done, steak is perfect for everyone, especially when eaten together with your family and loved ones.
Don’t worry, you don’t need to use many tools or have expert-like skills to cook the best steak. Nevertheless, you still have to follow some rules to achieve the best results.
If this will be your first time cooking a steak, don’t worry! The following tips and tricks will get you from zero to one hundred in no time.
CHOOSING YOUR MEAT

The cut of your steak depends on your preference, and of course, budget. Each variety of cut has a distinct flavor and tenderness.
Fillet: Prized as the most premium and expensive cut, it’s the most tender. It has little fat and is best served rare.
Sirloin: It’s considered as a common cut and prime steak, which many steak lovers like. This cut has a fine and firm texture and it’s rich in flavor. Best served medium-rare.
Rib-eye and tomahawk: Rib-eye has a tender texture and is known for the marbled fat running through the meat. The fat melts and incorporates into the meat when cooked, giving it a rich flavor and texture. Tomahawk is a rib-eye steak that has at least five inches of rib bone left intact that looks like a handle.
Flank steak: A cut that is lean and boneless. It’s also a cheaper cut with a lot of intense flavors. Flank steaks are great for barbecues and are best served medium-rare.
Flat-iron: This steak is cut from the shoulder blade and is now tagged as a good alternative to more expensive cuts. It has a lot of beefy flavors and is neatly marbled. Flat-iron steak needs to be cooked no more than medium to turn out juicy and tender.
Onglet: Also known as hanger steak. Onglet is a rope-shaped meat that has loads of beefy flavor. Some people find its flavor to be a bit strong due to the overtones of the liver and kidney. This cut should not be cooked beyond rare if you don’t want it to be tough. It is best served with strongly flavored sauces.
Rump steak: This is the least expensive variety of steak. Cooking it beyond medium will result in a tough steak since this cut is firmer in texture.
T-bone: This is a combination of the beef short loin or New York strip, and tenderloin (filet mignon), separated by a bone, that results from the way it’s cut. T-bones are best finished inside the oven to make sure they’re evenly cooked.
USE SIMPLE TOOLS

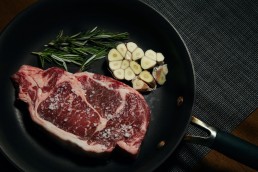
You don’t need a bunch of kitchen tools to cook a perfect steak. Just take out a sharp knife, a food thermometer that can easily be inserted into your meat, a wood or charcoal grill (if you wish to do outdoor cooking) or a pan for indoor cooking. For best results indoors, use a thick pan that allows an even distribution of heat, like a cast-iron skillet.
SIZE MATTERS
The cooking times and temperature for cooking your steaks can vary according to the cut. And even if you have the same cut of meat, its cooking time depends on its thickness -- and that should be considered every time you cook.
Check this Steak Magnet guide that you can place right on your fridge for easy access.
EVEN STEAKS NEED REST

Steaks are best when bought and cooked fresh. However, if the availability of fresh meat is limited, it’s still good to use frozen meat.
Bear in mind that cooking cold meat may result in an unevenly-cooked steak, since the heat will have a hard time reaching the center.
To avoid this from happening, let the steak rest at the counter for at least 30 minutes (depending on its thickness) before cooking.
Aside from resting before cooking, it is also necessary to allow the steak to rest after you cook it. This allows all the juices inside the meat to settle down and its fibers to relax. Also, this process will prevent the juices from running out of your chopping board, resulting in a rough and dry steak.
You can rest small-to-medium-sized steaks for 10 to 15 minutes, while larger cuts of steak may take 15 to 25 minutes.
SEASON IT WELL
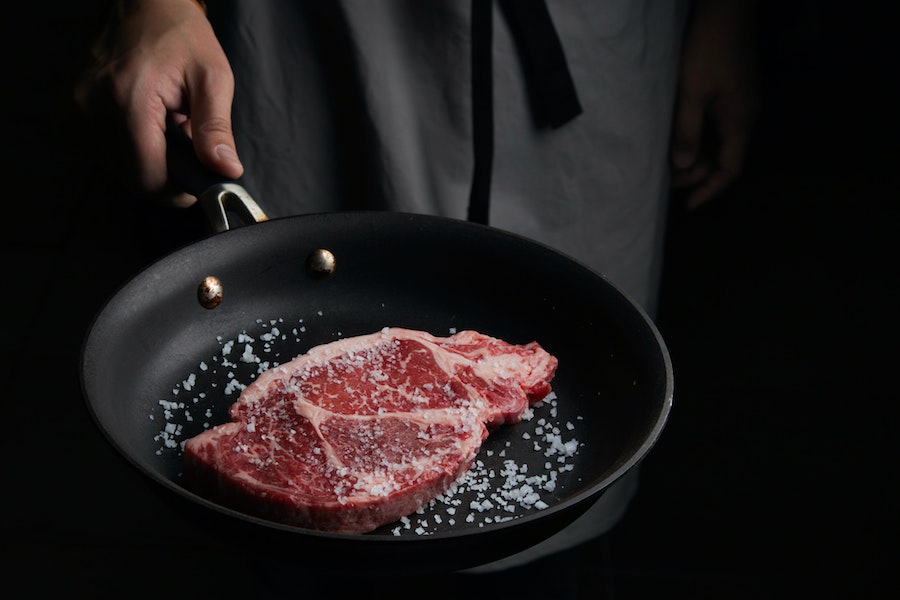
Steak lovers often prefer to enjoy the rich flavor of a quality steak by adding only a generous rub of salt and freshly-cracked black pepper.
Do this before you rest your meat, preferably 2 hours, to allow the seasoning to go deep into your steak.
For a different experience, you can try to baste it the French way.
Do this by cooking the steak in flavorless oils like sunflower, vegetable or groundnut for about ⅔ of the preferred cooking time, flip it, then toss in some butter and herbs like rosemary, thyme, and garlic, then baste or pour the oil over the meat using a spoon for the remaining ⅓ of the cooking time.
SEAR HOT
When cooking your steak, it’s highly important to start with a hot cooking surface. This method will help caramelize the outside of your steak to lock in the flavor and juices.
Try this if you want to achieve the exceptionality of steak-house quality steak -- crispy on the outside, yet juicy and tender on the inside.
CHECK IF IT IS COOKED
There’re many methods to check the doneness or the internal temperature of a steak, but generally, here’s a good idea:
Steak’s doneness has five (5) classifications; Rare, Medium Rare, Medium, Medium Well, and Well Done.
You can use a meat thermometer to prevent overcooking, undercooking, or burning your steak. It also helps to make sure that you make the perfect steak every single time.
Here’s a Steak Magnet that outlines the ideal internal temperatures depending on how you like your steak.
SEASON AFTER SLICING

Not everybody shares the same palate, thus, sometimes we may need a different amount of saltiness in order to enjoy our food. If this is the case, the best way to season after cooking is to do it after you slice your steak.
Don’t forget to put a bowl or canister of salt within everyone’s reach on the table to let them also season their steak as they like it.
For the best flavor and seasoning, use sea salt.
Slicing tip: Slice your steak against the grains for a tender piece of steak.
![]()
There you have it! Follow these tips and you will surely have the perfect steak to share with your family and loved ones.
Looking for something to pair up with your perfect steak? You may try these recipes.
STEAK-TERM BUSTER!